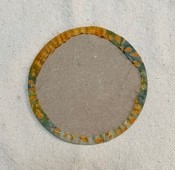
Background Fabric: One piece of fabric – 9” x 9”Circles: Coordinating fabrics to work with background fabric. Cut 3 circles out of cardboard or cardstock: 4 ½”; 3 ½”; and 2 ½” diameters. Use these cutouts to prepare circles making one (1) of each different Method as follows:
METHOD #1 (Use 4 ½” circle template):
Cut out your fabric 3/8” larger than your template. Sew a basting stitch about 1/8” from the edge. Place the cardboard circle in the center and gently pull the basting stitch to gather your fabric around the template. Secure the stitching to hold the fabric shape. Iron. Remove cardboard circle
METHOD #2 (Use the 3 ½” circle template):
Cut a piece of fabric – 4” x 4”. Cut a piece of lining fabric or lightweight interfacing – 4” x 4”.
Trace the 3 ½” circle template on the wrong side of the lining/interfacing.
Place the lining/interfacing on your fabric (right sides together).
Sew along the drawn line completely around. Trim and cut off the excess fabric leaving ¼” around. Notch/clip around the circle.
Make a small slit in the center of the lining/interfacing and pull the circle out of the slit. Finger press the circle to form the circle. Iron flat.
Method #3 (Use the 2 ½” circle template):
Cut out a piece of fabric the size of 2 ½” template. Apply starch and iron. This is a raw edge applique. Sew around with the circle with a satin stitch or a small zig zag. To complete the block, place all three circles that youmadeth9x9” background fabric. Use a small zig zag, satin or other decorative stitch to sew them down.
The new Guild Fiscal Year is starting in July and so is the new Block of the Month (BOM) plan through the newsletter and Facebook group.
The 2020-2021 BOM will start in August. Last year I focused on fabric choice and design and left it up to you to follow block instructions from a website. This year I will be focusing on one technique or skill each month. There will be two projects.
⊕ PROJECT TWO (Jan-Jun 2021)was announced to be a Medallion Quilt. Change of Plan. A medallion quilt or Round Robin or Frame quilt are different names for the same concept of design. Realization hit; not many have time to make all the blocks needed for a full border. NEW Plan – Block to Border. Discussion Zoom Meeting to be announced.
Each month I will introduce a new block repeat and show multiple ways it can be used in a border. You can make one or several blocks to see if you like it and how to use it. Create a folder, make notes, add samples and make add to your library, but please still participate and post your blocks.
⊕ JANUARY 2021 BOM find a center piece or a quilt that needs a border. Look for a panel, favorite orphan block, UFO, make that star block on your things to do list or just pick a piece of fabric you love. Post the photo. You are not committing to sewing a border each month. Use your selection for inspiration and to play with a border option as you make a sample each month. Learning about borders: Purpose: A border is usually a part of a pattern or design. It can be used to make a quilt larger, a pieced border is to add interest. It also helps as a transition area. Borders: Piecing should reflect the same shapes, sizes, colors, fabrics, angles or repetitions that are found in the main center piece. If you choose a piece of fabric or panel then look closely and break it down. It could be the type of panel like patriotic or type of fabric like batik. Are there shapes or colors in the print, what is the color family if it is solid. Incorporate all that information into your border choices. Math: This style of quilting is great to practice precise piecing. If your seam allowances are off, the blocks will not meet in the corners. We will learn math and about cornerstones and insert piecing to help those piecing challenged individuals, like myself. Positive and Negative space: The positive space is usually darker or brighter fabric to make a shape stand out. The negative space is usually the background or fabric on the edges of the border that will blend with the next border. When doing multiple borders it is important to plan fabric selection for all borders to see how they blend into one another.
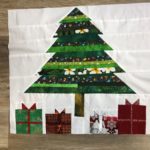
Project One (Aug-Dec 2020) – (updated 12/10/2020) Christmas Wall Hanging/Quilt. You will have five months (August – November) to make a tree, presents, star and border.
Each month I will teach a new technique or quilting skill. I will provide size of pieces and how to assemble one block. You can then practice making several of the same block or learn how to do math and make a larger and/or smaller block for a throw size quilt or a smaller wall-hanging. You can also make one quilt repeating the block. Just think a quilt with presents all over it. The wall-hanging using the sizes I provide will finish at approximately 36×48. You can make your wall hanging/or quilt any size.
FABRIC – Recommend you choose your background now to use in your block piecing and to have enough for the complete wall-hanging. You may want to choose your fabrics monthly for each block after you see a picture.
Background fabric – white or light is recommended. Approximately 2 yards.
August: Presents – Precision Piecing and Flying Goose. Needed – 5” square that looks like wrapping paper and a 5” strip and 3” square of the same fabric that contrasts against the square for the ribbon.
September: Tree – String Piecing (optional) and corners. Needed – Various colors of green fabric scraps. Or a green Christmas fabric, small prints work best. Five strips.
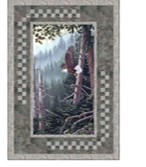
October Block of the Month Star – Paper Piecing or template You will need the background fabric and two contrasting colors for the star to give a shading or 3D effect. This is a good block to use a metallic fabric if you choose.
If you are not able to download the templates below, email me (Barb Rubio) and I will reply with the pattern. There are two patterns one for four points and one for five points. I made the four point star by template adding a 1/4” seam to each section. I made the five point star using the 8” pattern and paper pieced.The five point start offers four different sizes for you to choose from. Decide which looks best for the size of your tree and presents. THIS STAR IS NOT INTENDED TO BE ON TOP OF THE TREE. The star is intended to be off set from the tree in the wall hanging.
I am not providing step by step instructions. I encourage you to reach out to quilting friends or call me if you need help. I do not paper piece so this was a challenge for me. Some tips I found helpful, use small stitches to easily remove the paper, write on the paper which color of fabric went to each section. Pay attention to the numbers 1 and 2 and what you where you want the light and dark fabric to be.Two helpful video links are below. Good luck. Thanks for participating.For basic instructions on how paper piecing works watchhttps://www.youtube.com/watch?v=t7Kx4Q7JSwQThis video is not on the star pattern, just a simplified demonstration about paper piecing.Eleanor Burns uses the Accuquilt cutting machine to make the star. This is a good video to understand how the star pieces and fabric choice should be played out in the pattern. It also is a good demonstration for pressing the seams.https://www.youtube.com/watch?v=1zf_QWTNC4s
November: Ribbon Border – Color combination and fabric choice for 3D effect. – Needed dark and medium fabric with background fabric.
Please post your blocks on Hawaii Quilt Guild Facebook or email me a picture. All posted blocks finished before the next month will be in a drawing to win a prize. Blocks can continue to be posted after the month ends but they just won’t be in the drawing for a prize. There will be a final prize for a completed quilt using all the blocks and posted by December 31.
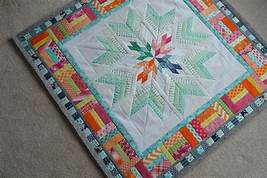
Project Two – January – June, six months to make a Medallion Quilt with a star in the center and different sizes and shapes of borders working outward.
I hope to provide some demonstrations through the Facebook group. I will post pictures there and on the website.
2019-2020 Chair: Barb Rubio
* Update from Barb Rubio (May 13) Final instructions for Gypsy setting instructions
This block of the month club is a mystery quilt. You will keep your blocks and choose how to set them at the end of the year. There will be a total of 24 blocks. In May 2020 we will have workshops to assemble the top.
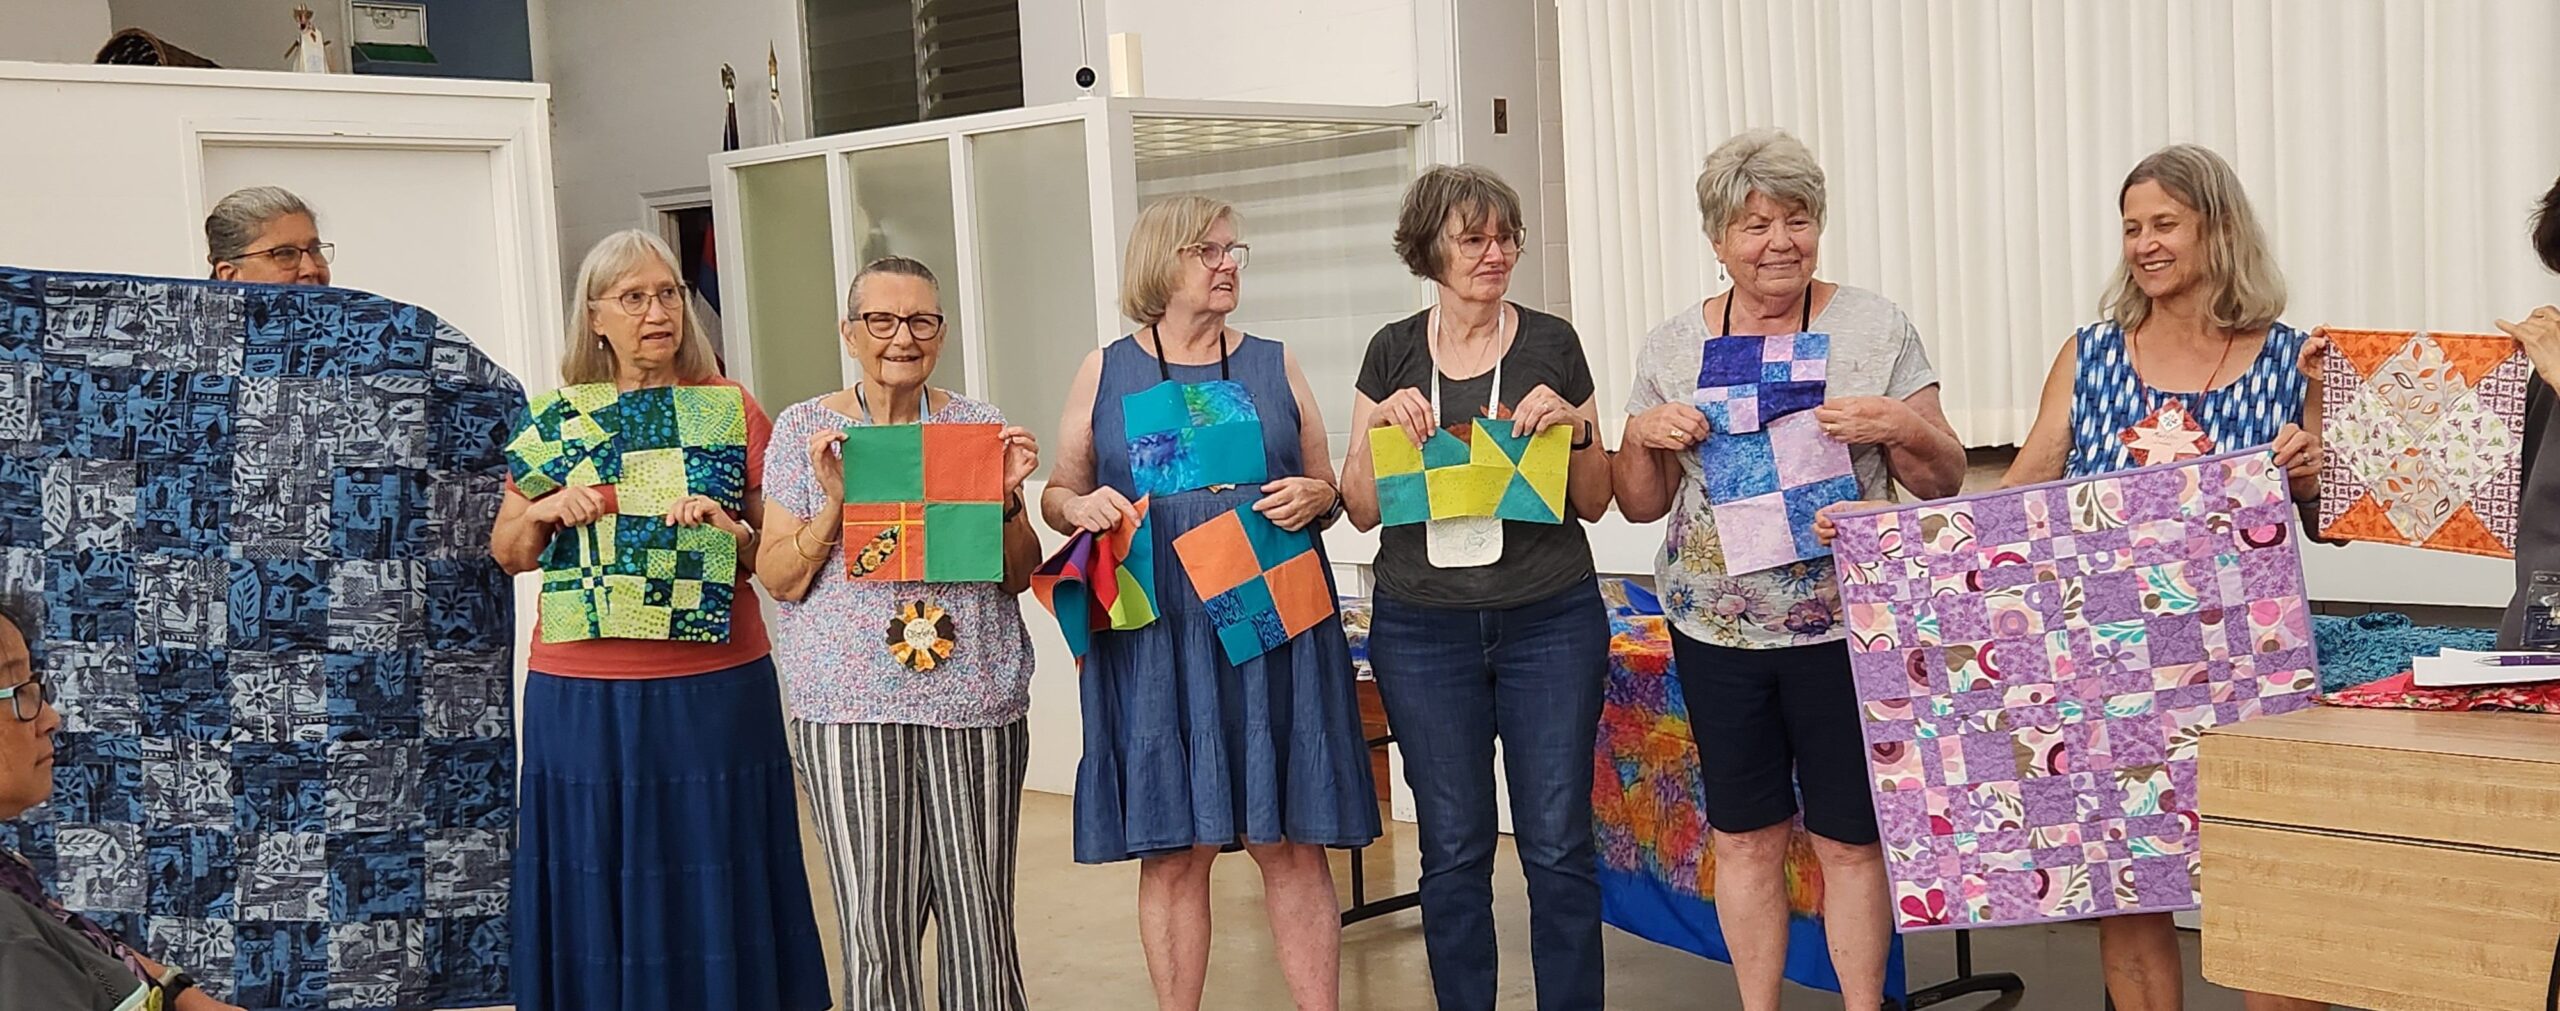
Work at your own pace and bring your finished blocks to show at each meeting. For every block shown your name will be entered into the weekly drawing. For those that can’t attend the meetings you can email Barb a picture and your name will be entered for the end of the year drawing.
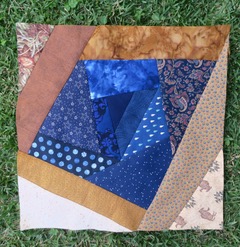
The 24 blocks of various sizes fit into three settings that finish at 70×82. The three settings are a sampler quilt, the gypsy wife quilt and a modern ocean wave.
The 24 blocks will vary in size, the largest 18” and the smallest 8”. Some months we will make up to four blocks. This club was created for you to play with fabric choices and to build your skills and learn how to dissect a block, looking at how the fabric choices make a design work.
It is recommended that you select or purchase enough fabric to complete the quilt. This is approximate yardage, not exact. Fabric Yardage: 1 dark fabric – 1/2 yard; 1 light fabric – 1/2 yard (2-3 one half yard light fabrics for the wave setting); 1 – 4 mediumfabrics– total 3 yards. Background and sashing fabric 2 yards. You may want 2-4 extra yardage in case its cut wrong or want to make extra blocks or use it in borders or fill blocks. If using scraps, separate them into light, mediums and dark. Pre-cuts should be at least one fat quarter bundle and a jelly roll if you want extra fabric. See below for information on fabric choices.
2017-2019 BOM Co-Chairs: Donna Kanealii and Joanne How
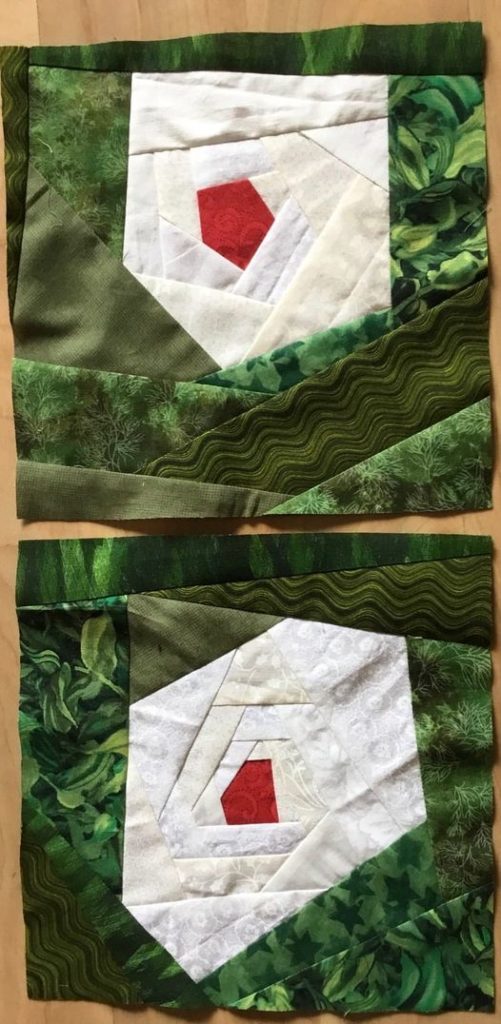
BOM participation is a wonderful and easy way to learn a new technique or block design and help Na Lima Aloha (charity quilts). Members make two blocks and bring them to the meeting. One will be entered in the drawing and one will go to Na Lima Aloha . You can make more than one pair of blocks. Each pair qualifies for a ticket to win the blocks for the month. If you only make one block, it will go to Na Lima Aloha and you will not be entered in the drawing. Periodically the BOM Chair(s) will offer special BOM challenges for additional prizes. Please use good quality quilting fabric (100% cotton).
BOM instructions are in the HQG Newsletter one month prior.


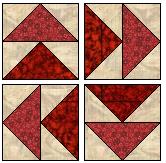
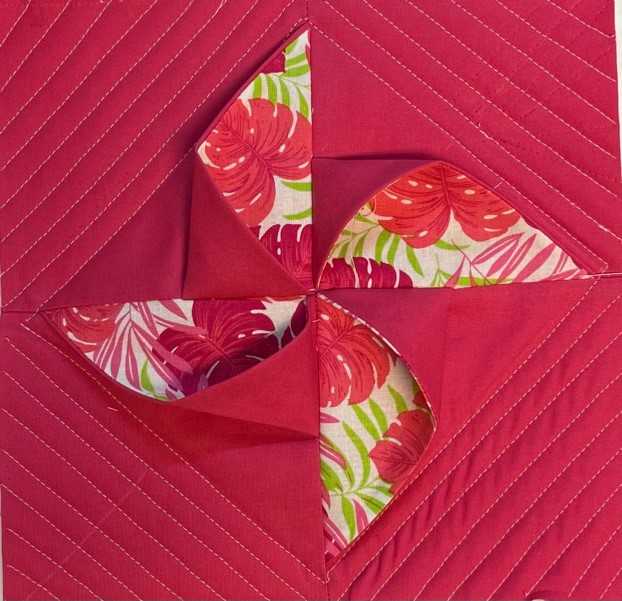 Instructions: JANUARY 2023 BOM 3D Pinwheel


 BOM-Sashiko-stitching-AUGUST-2021 (pdf version)
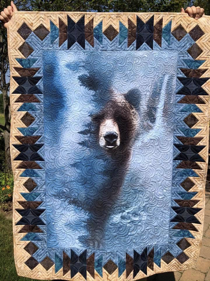


 April 2019 Coconut
 March 2019 Taro
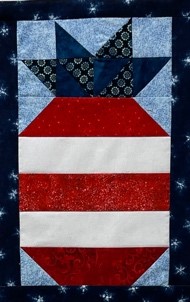
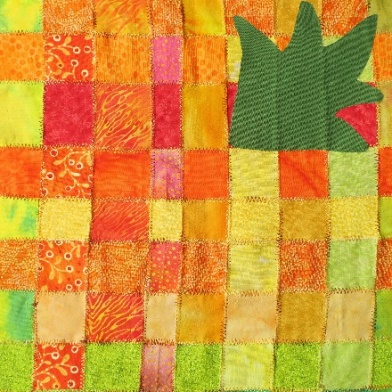 Jan 2019 Pineapple
 Nov 2018 Delicious Papaya
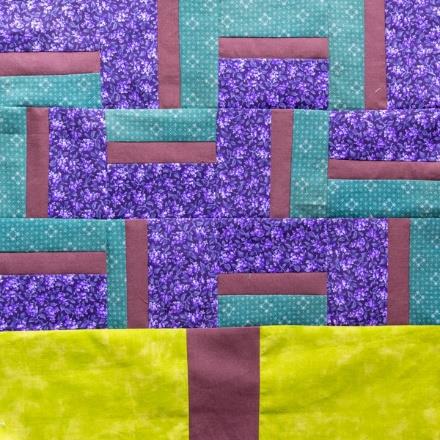 Oct 2018 Flowering Tree
 Sep 2018 Tropical Flower
 Aug 2018 Hawaiian Sun
 July 2018 Lei
 May 2018 Whale’s Tale
 Apr 2018 Hokulea
 Mar 2018 Lava
 Feb 2018 Limu
 Jan 2018 Sunrise Seashell
 Nov 2017 Tiny Bubbles
 Oct 2017 Scrappy Ahi
 Sep 2017 Tusnami
 Aug 2017 Honu BOM – 2017-08 August _1_
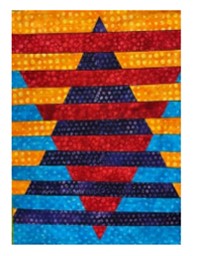
 Feb 2017 BOM “Rainbow Shadows”
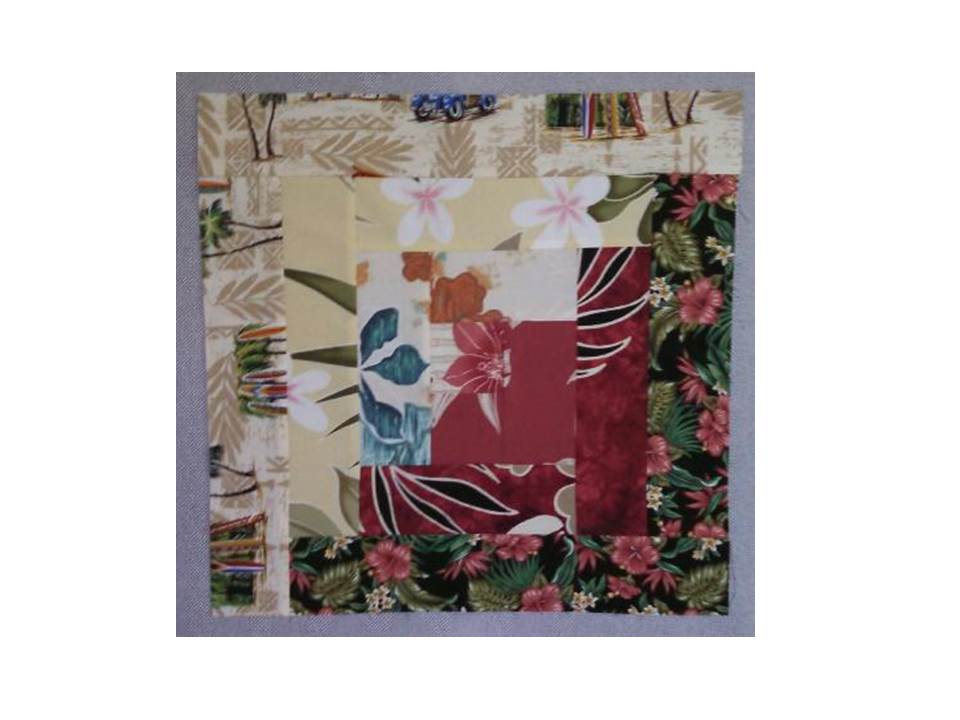 Jan 2017 BOM “Hawaii Print Log Cabin”
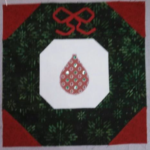 November 2016: “Holiday Weath”. Contest for best embellishment.
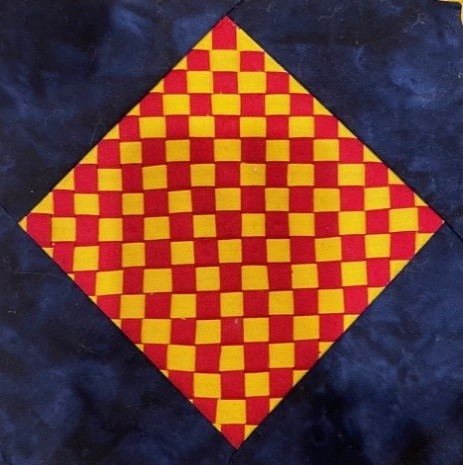
 October 2016: “ACT (Already Cut Triangles) of Madness”
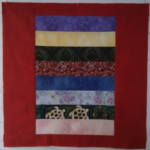 September 2016: “Scrappy Roman Coin”
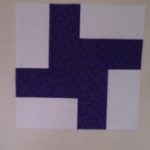 August 2016: “Simple Rail Fence”
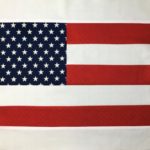 July 20016: “Old Glory”